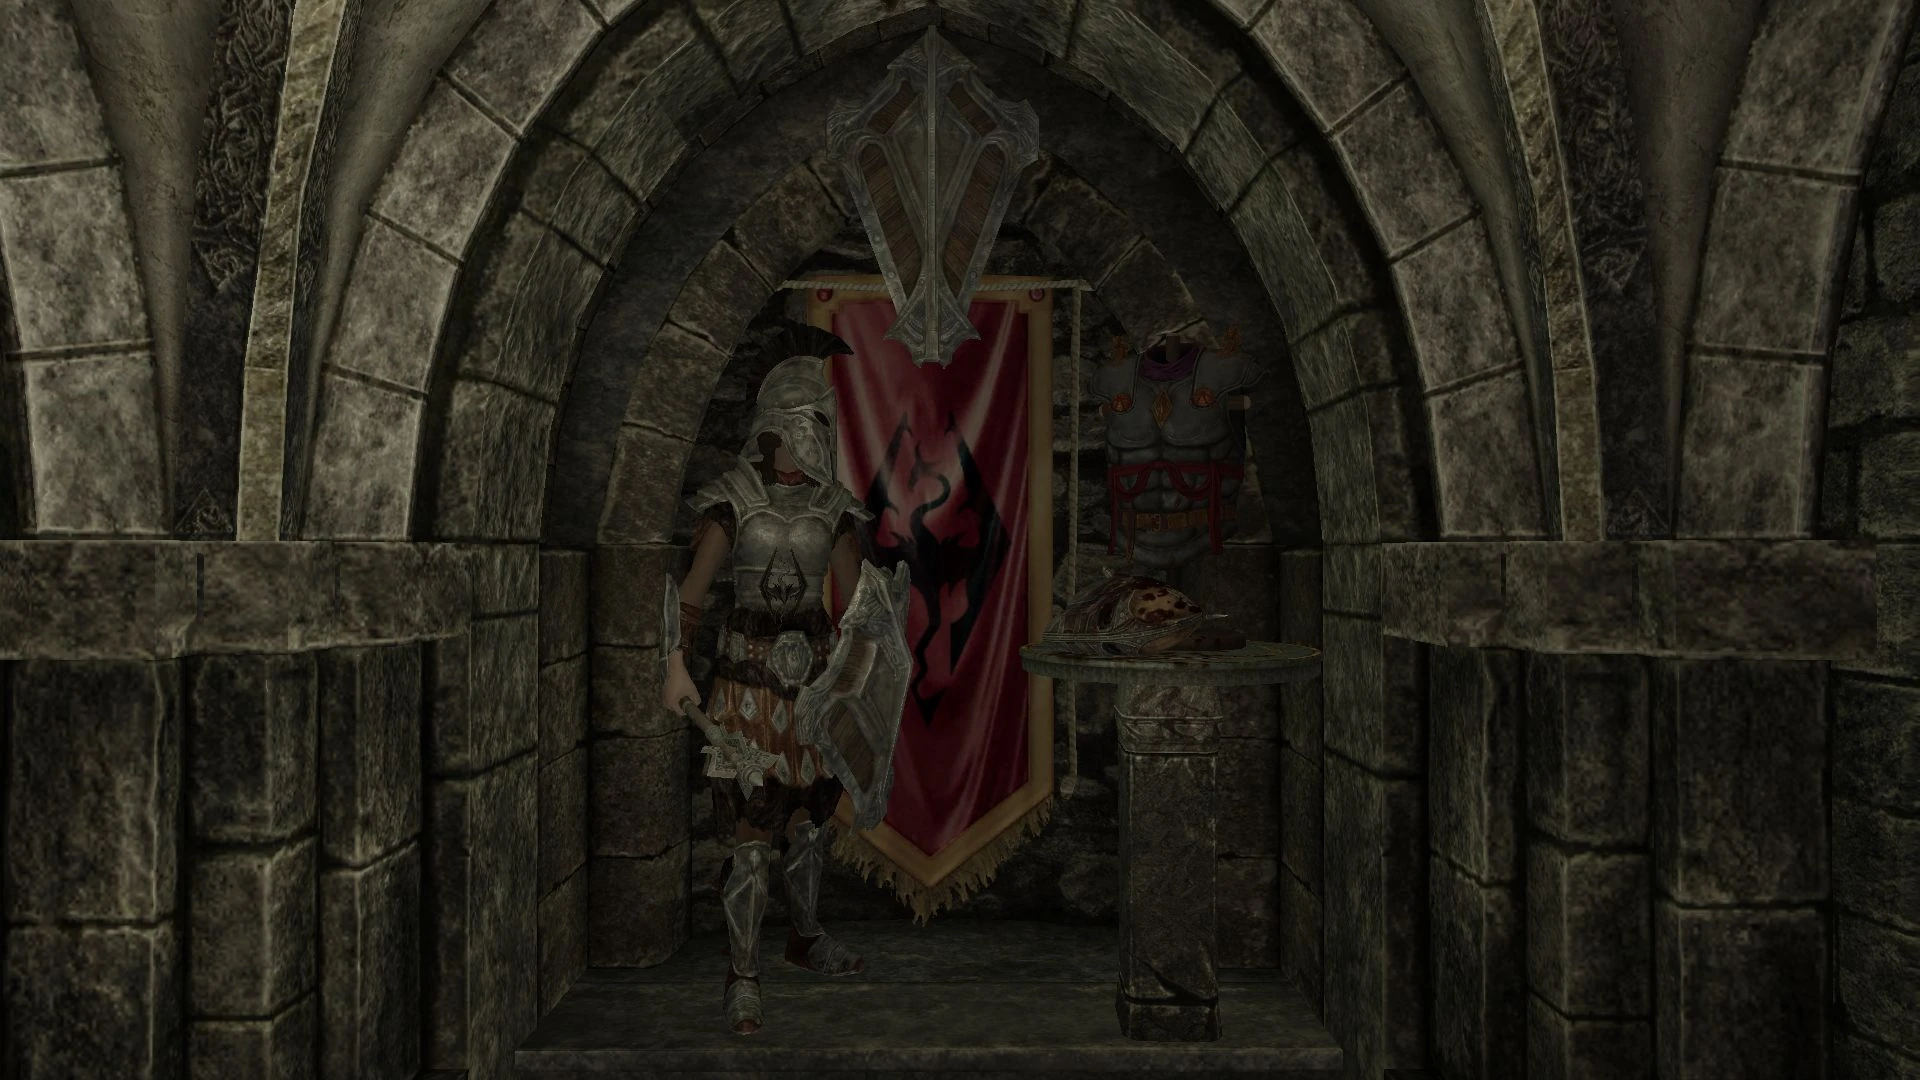
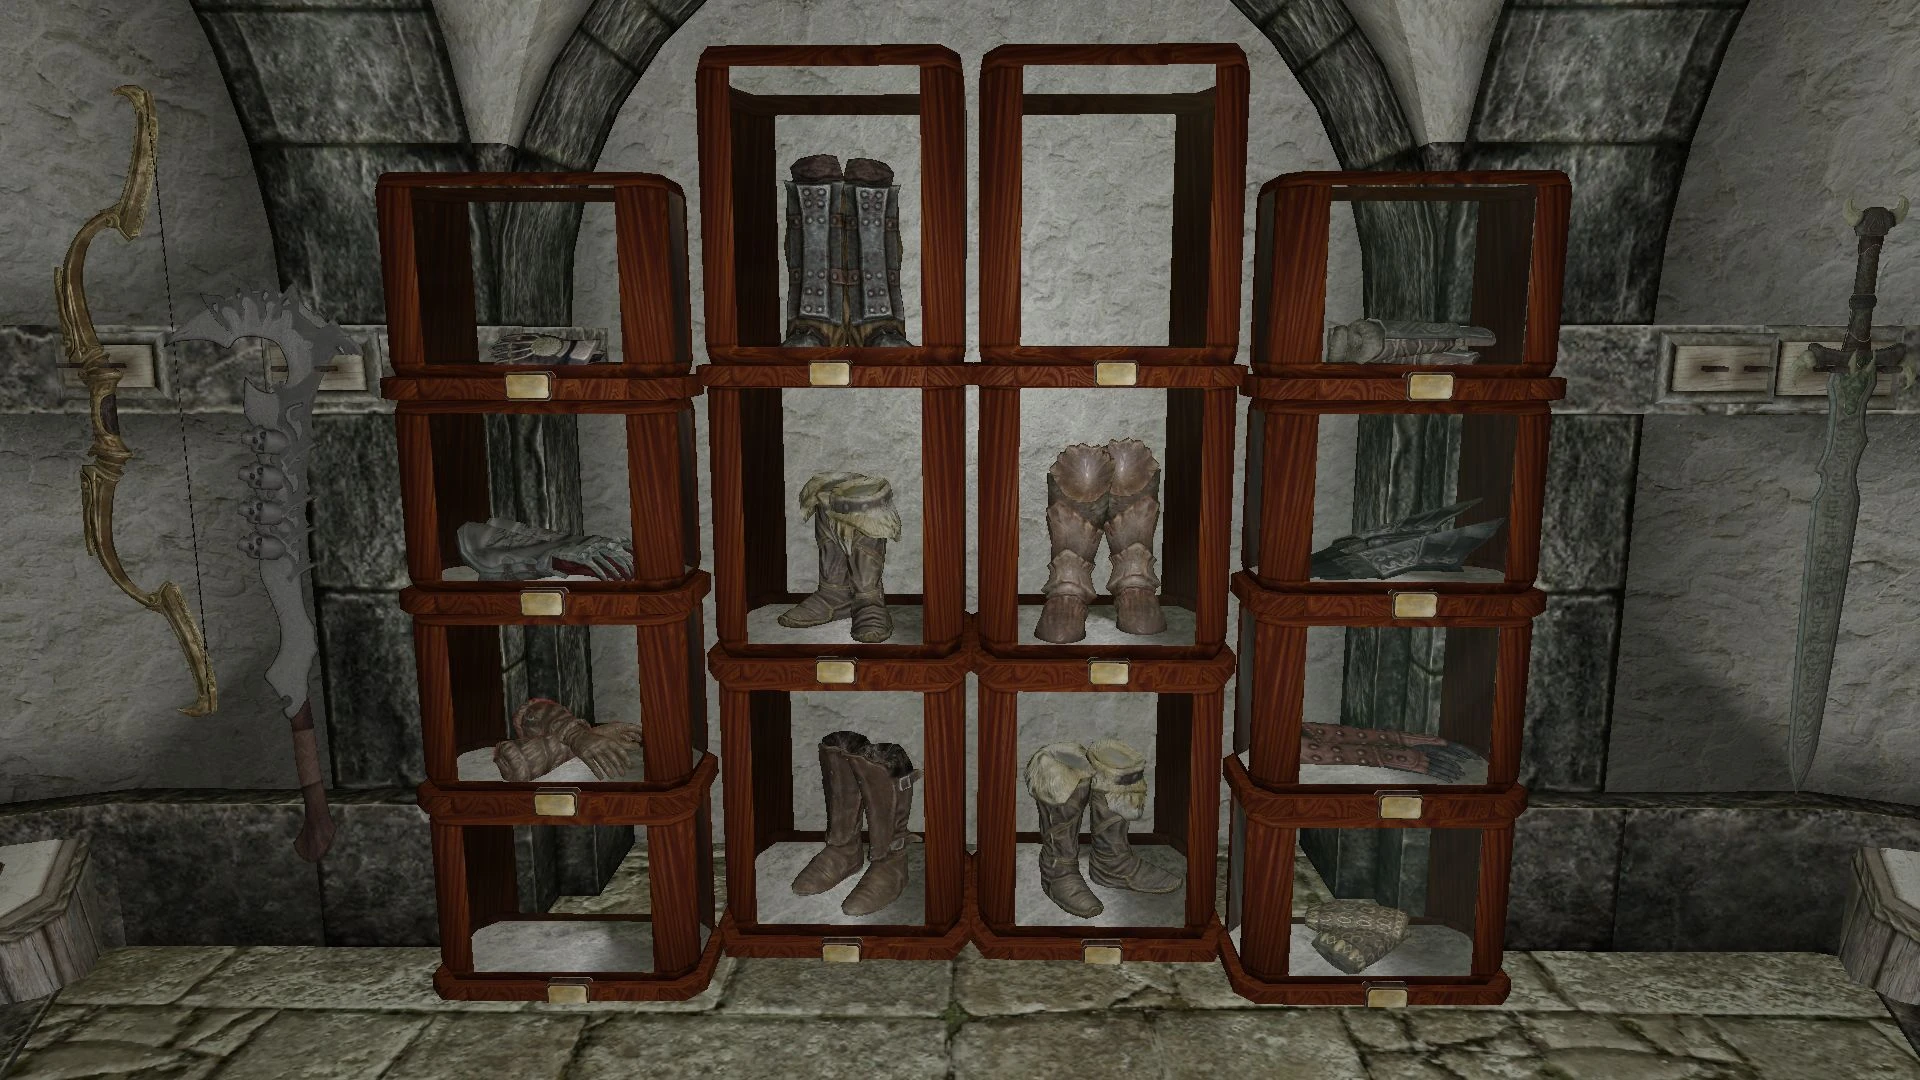
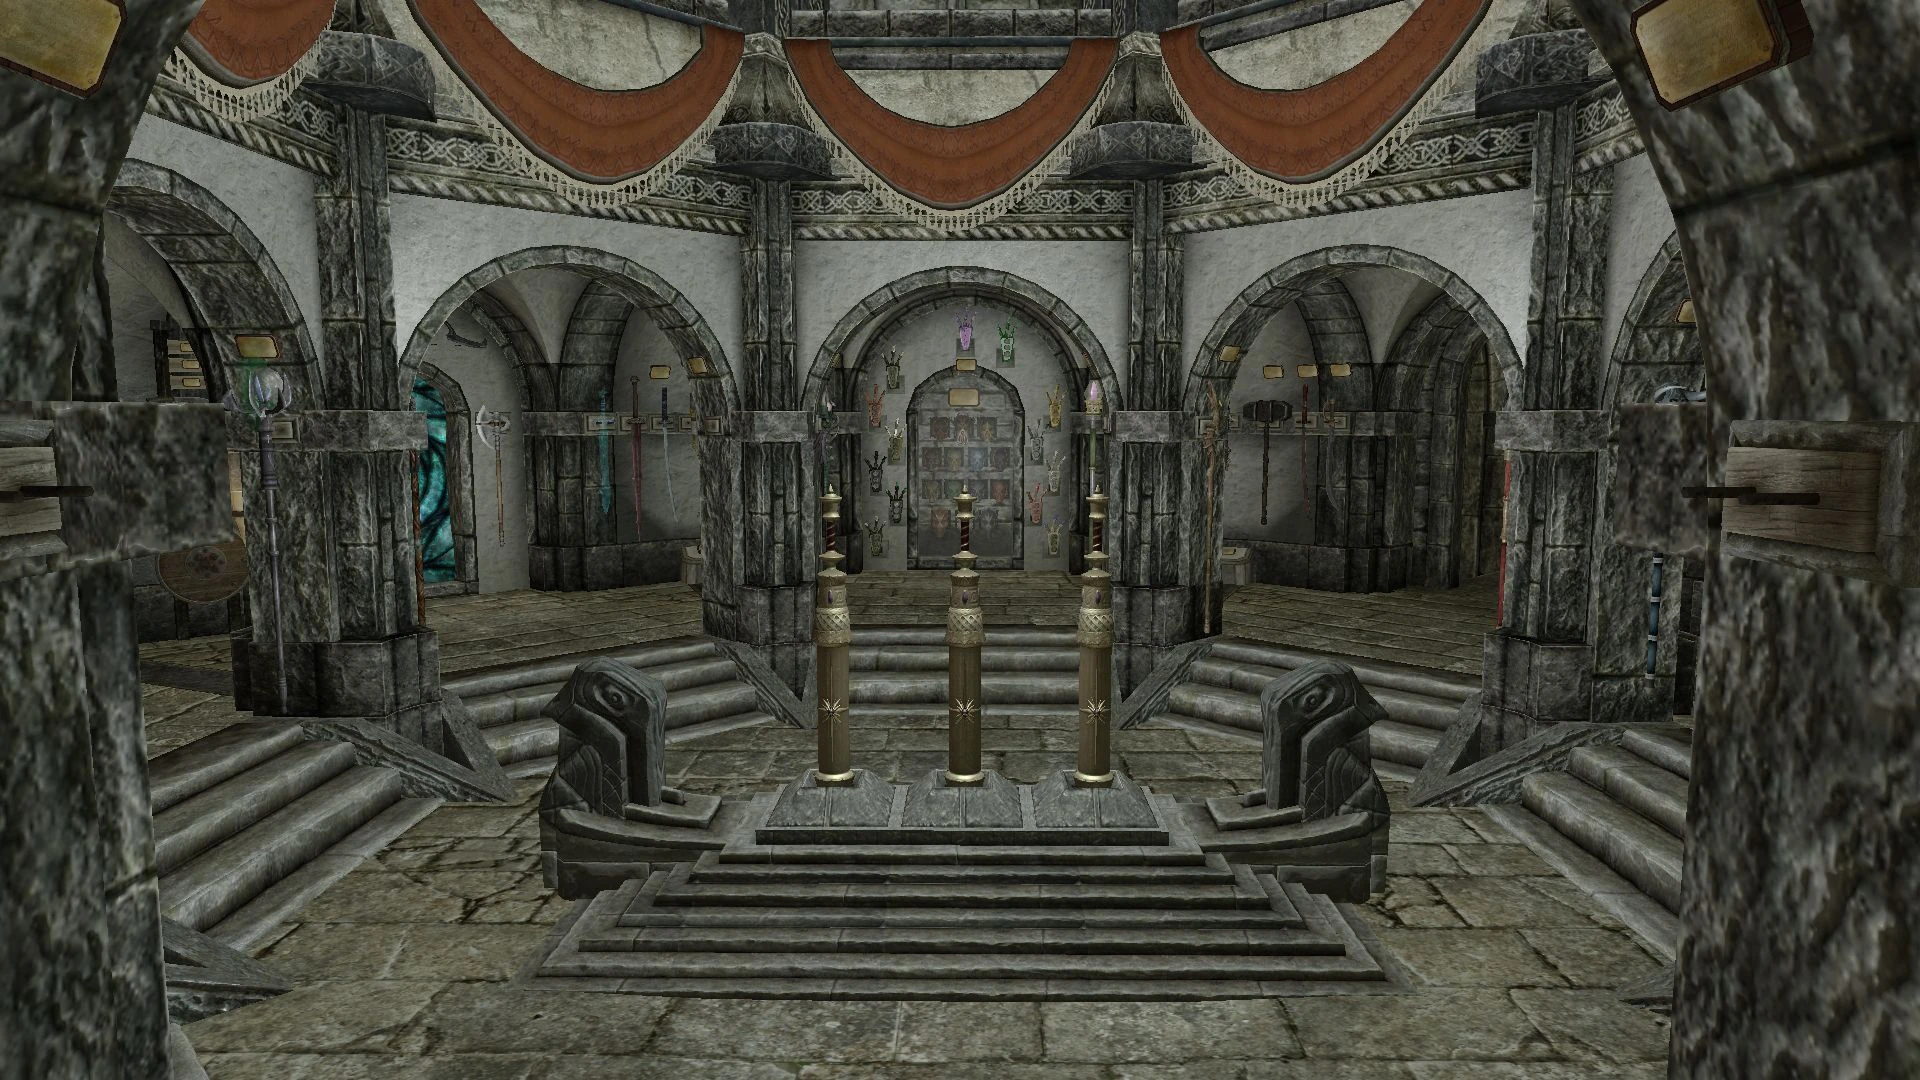
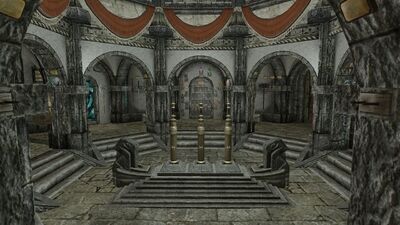
The Hall of Heroes is a large circular room immediately in front of you when you enter the museum at the end of the Entrance corridor.
Below is a list of all the relics that can be displayed here. They are listed starting from the left as you enter the hall.
Outer Ring
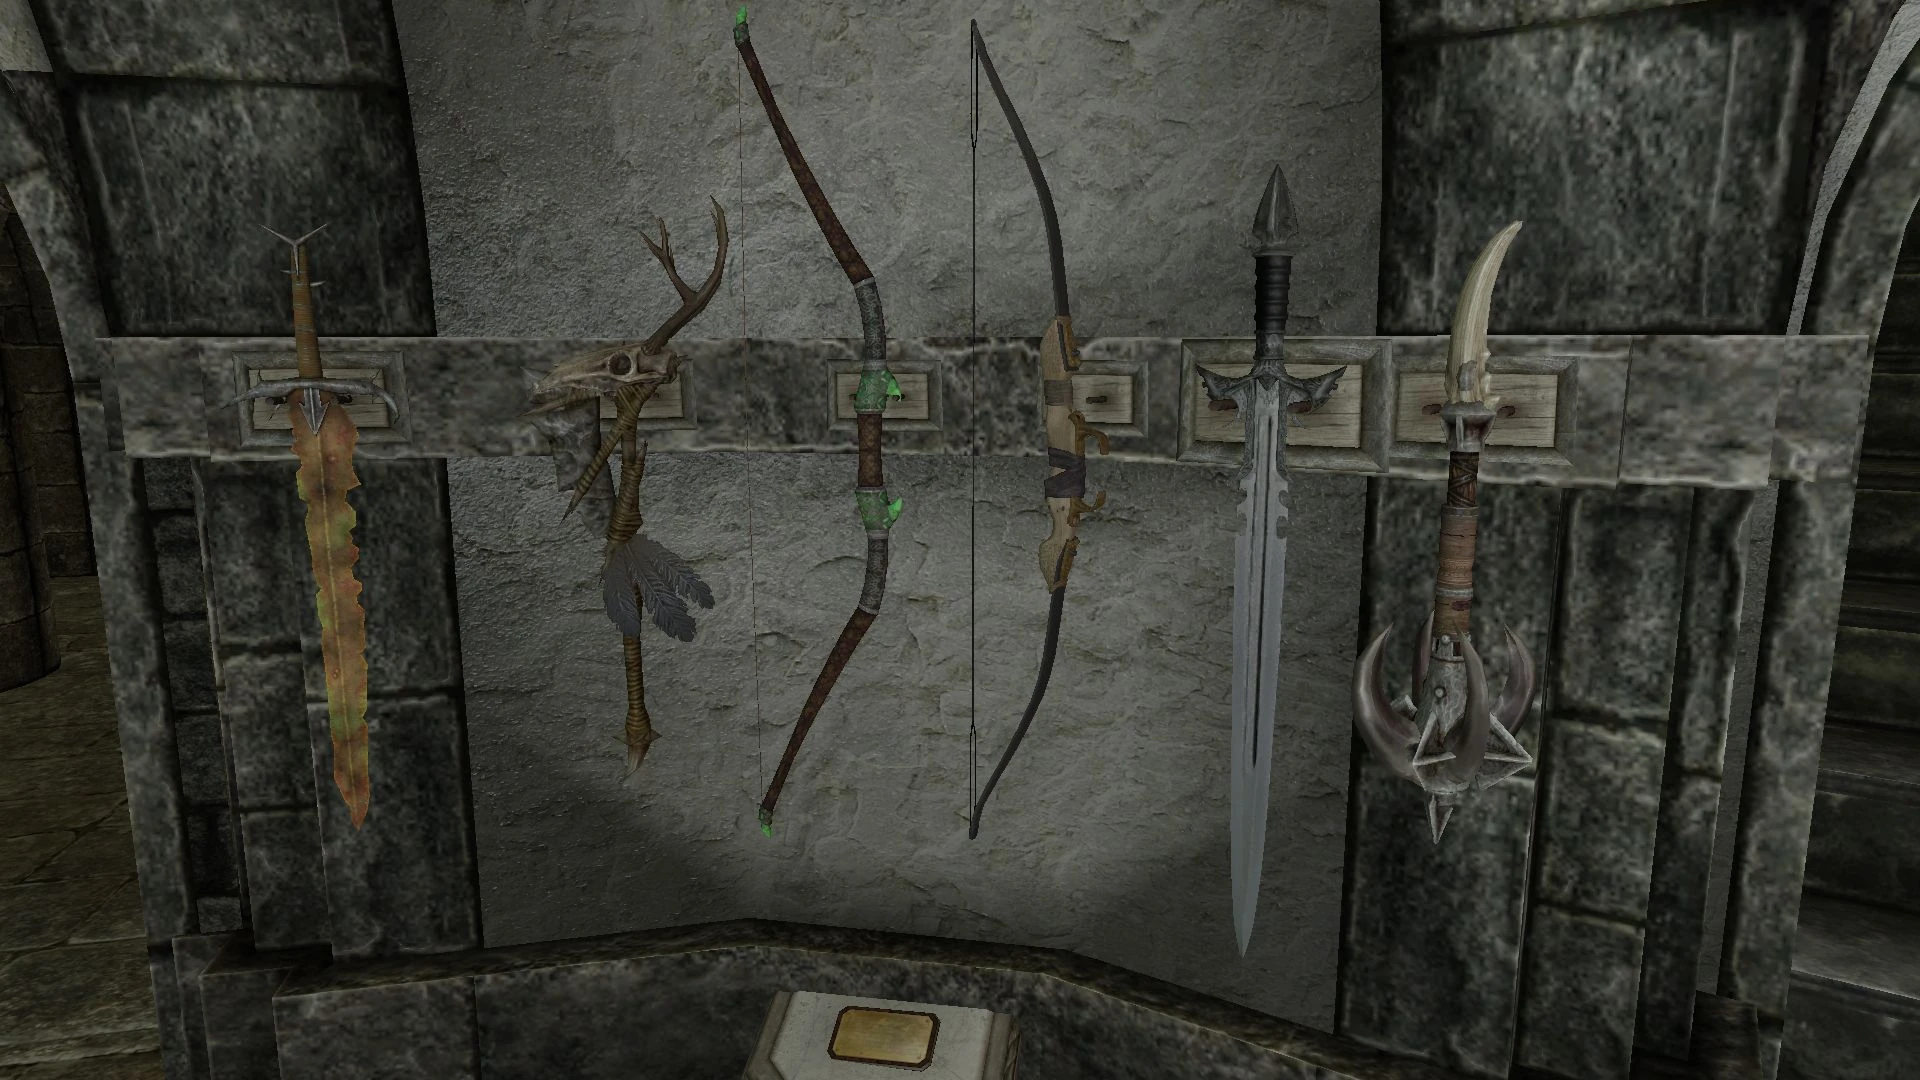
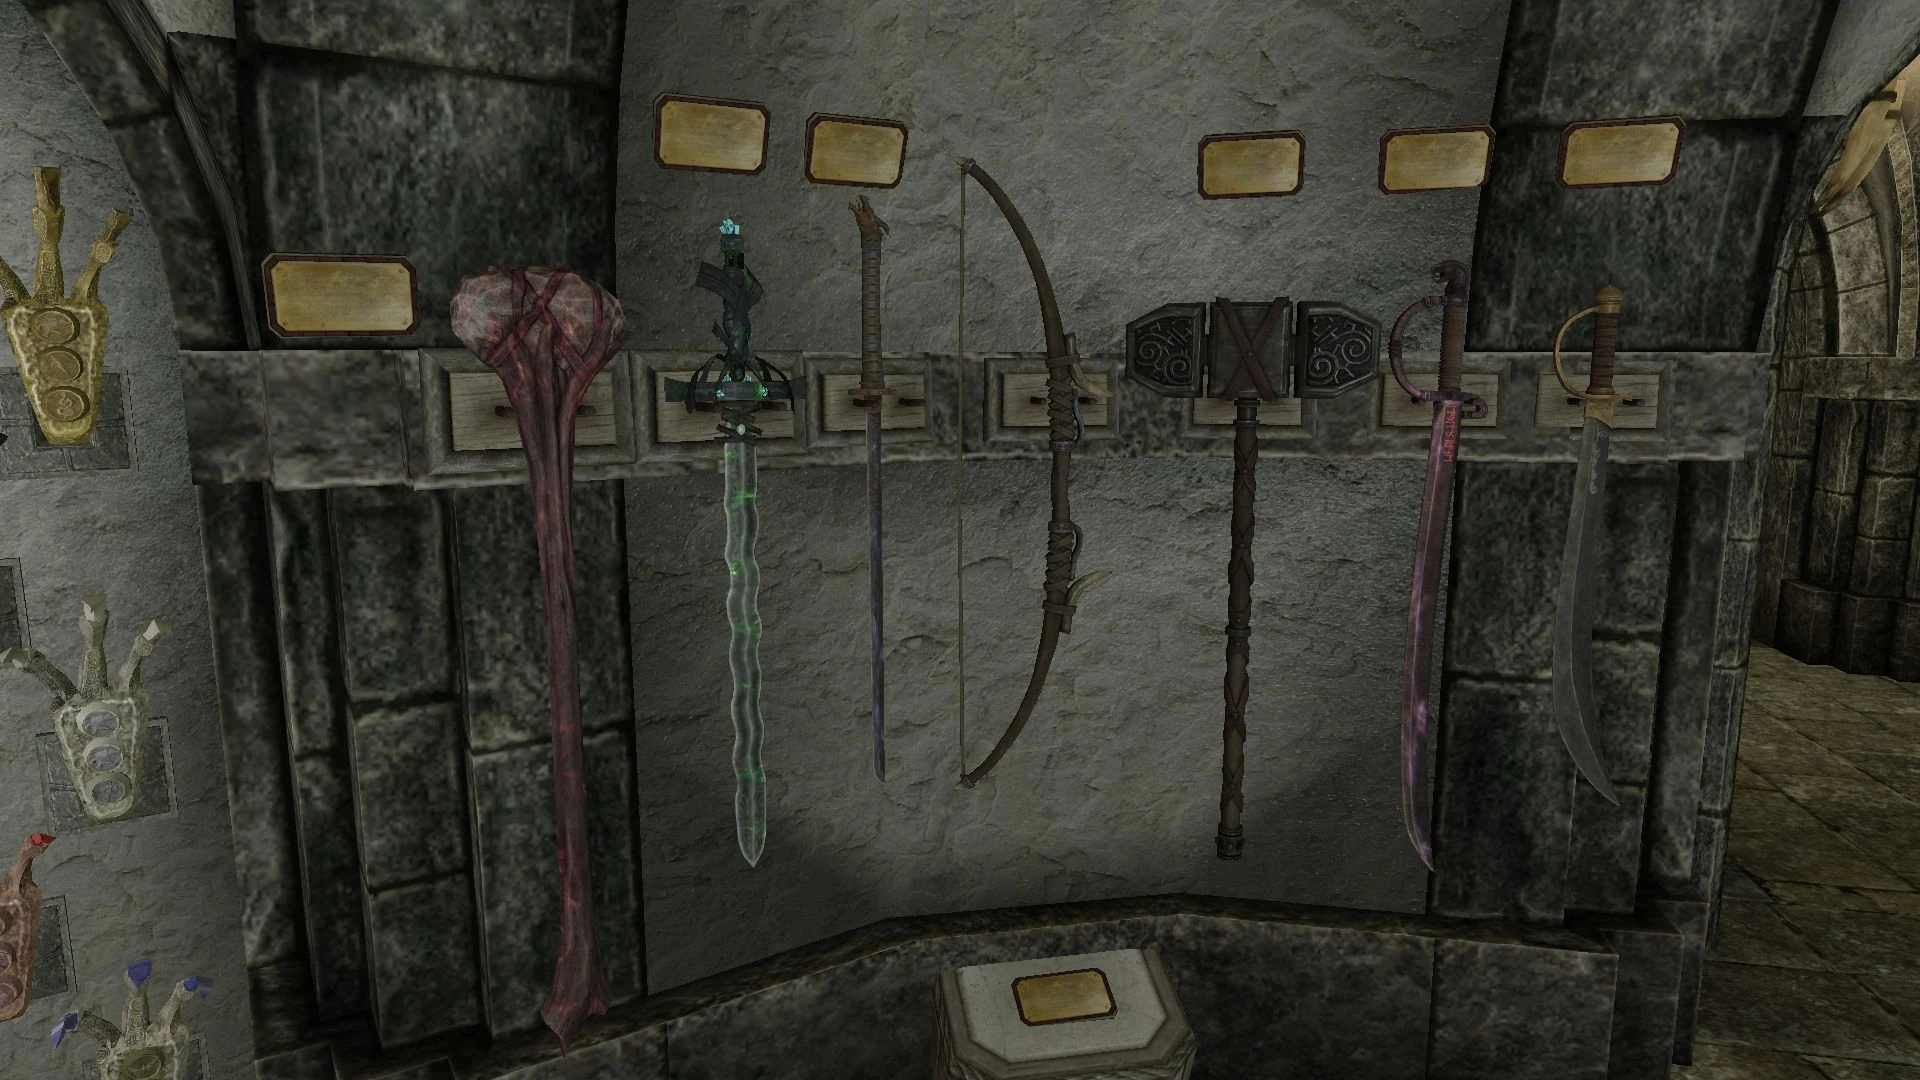
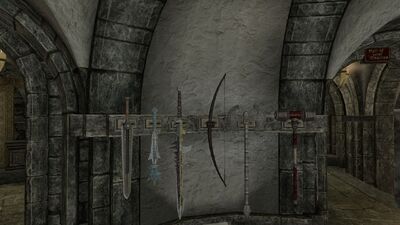
1st Weapons Display | |
|---|---|
| Thrassian Plaguesword | Briarheart Geis |
| Glass Bow of the Stag Prince | Bow of the Hunt |
| Stormfang | Horksbane |
1st Doorway
Stairway to the Upper Gallery. Additionally features three painting spots.
There is also a display for Skyrim Underground items in an alcove along the stairway.
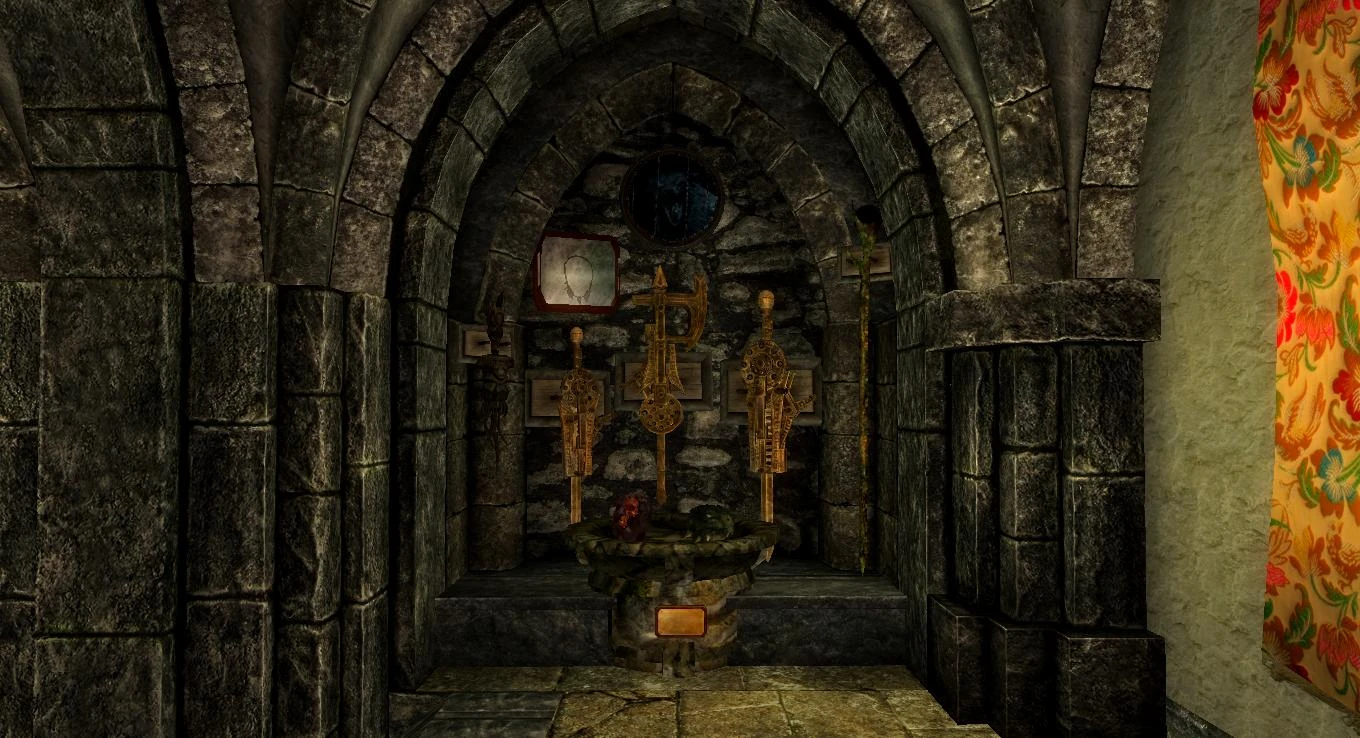
Skyrim Underground Display | |
|---|---|
|
(All items require Skyrim Underground) | |
| Dark Shade | Zombie Amulet (Zombie Ear Necklace) |
| Skeevertown Guard Shield | Gnarl Staff |
| Dwarven Sword (Heavy Dwarven Sword) | Dwarven Greatsword (Heavy Dwarven Greatsword) |
| Dwarven Battleaxe (Heavy Dwarven Battleaxe) | Head of an Argonian (Argonian Head) |
| Zombie Head (Zombie Mask) | |

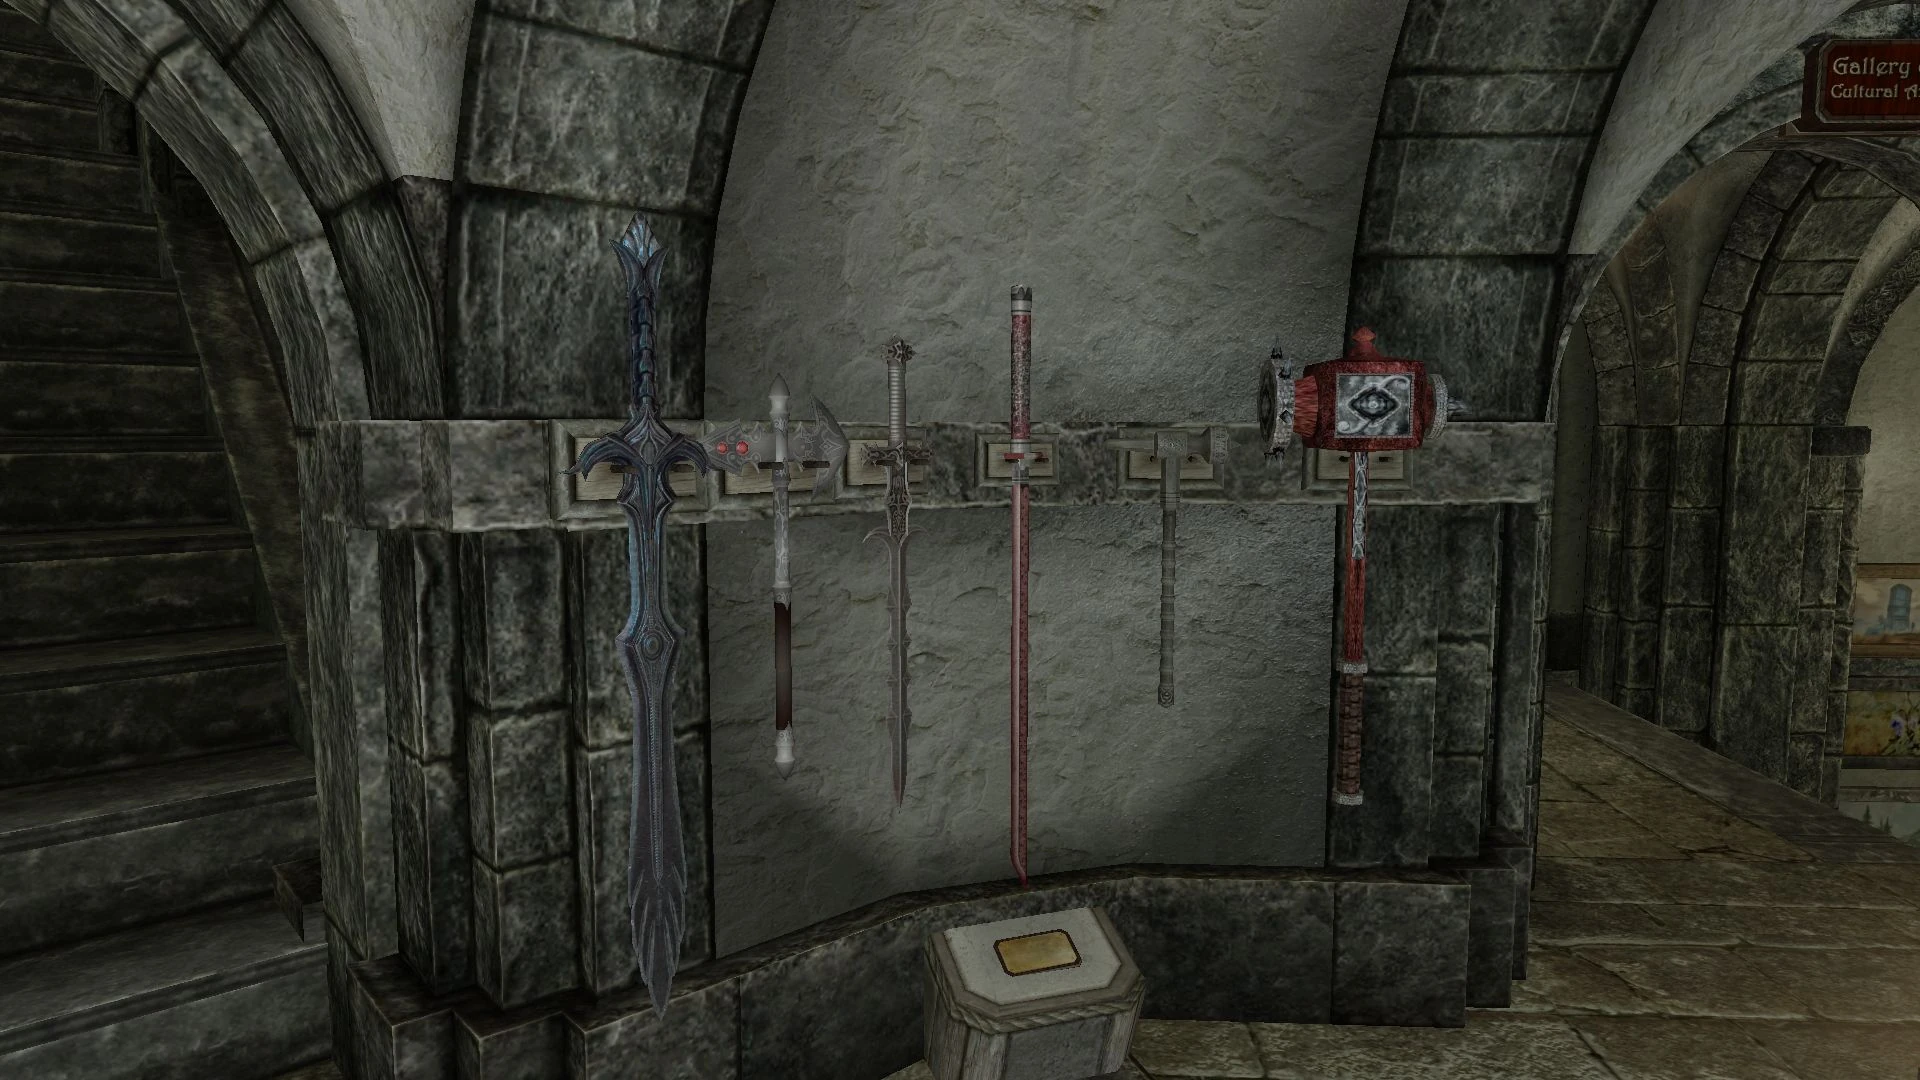
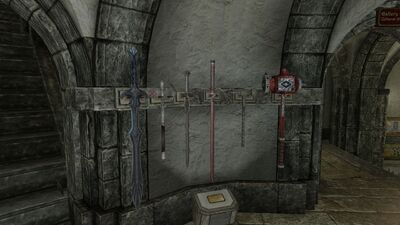
2nd Weapons Display | |
|---|---|
| Grimsever (replica) | Cleaver of St. Felms |
| Thornblade | Gravedigger |
| Skullcrusher | Stendarr's Hammer |
2nd Doorway
Straight ahead is the entry to the Hall of Oddities.
Down the stairs the doors leading to the Culture and Art Gallery (left) and the Gallery of Natural Science (right).
Standing Stones
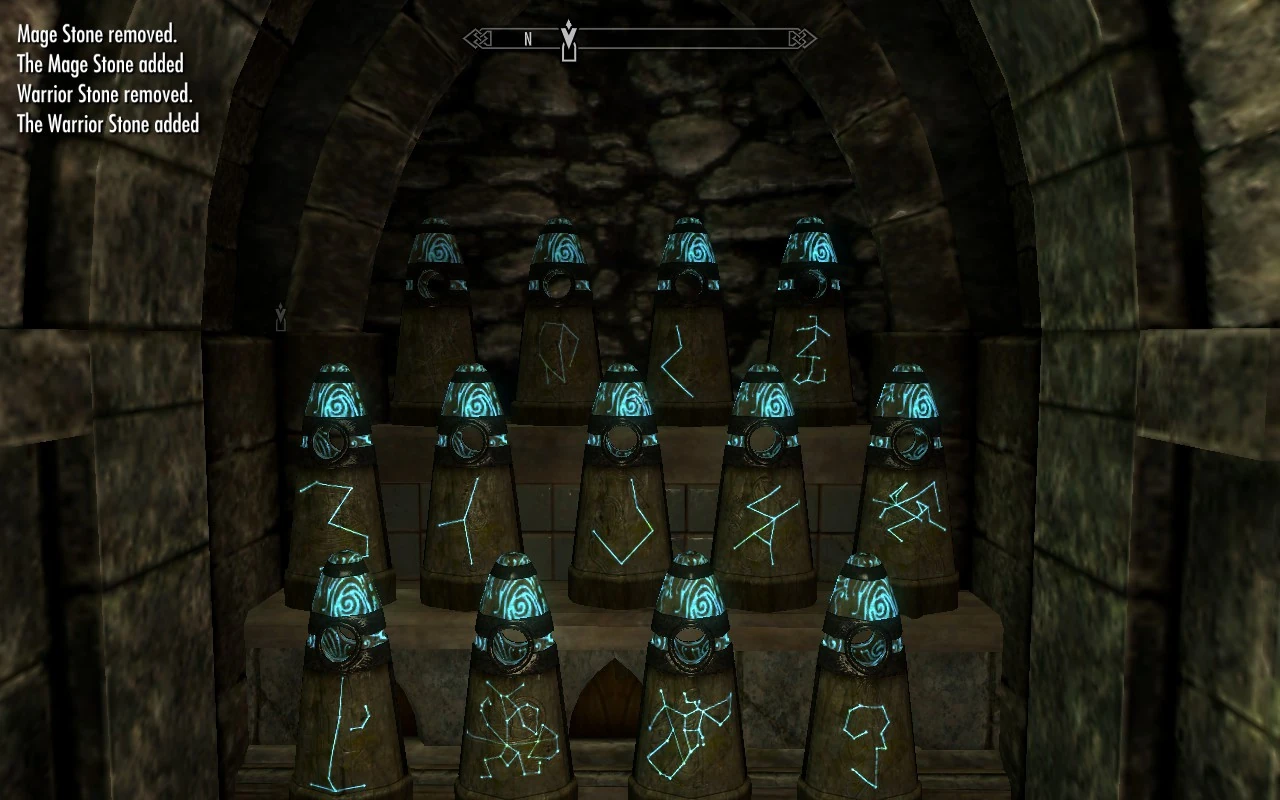
When each standing stone is activated for the first time, it will be unlocked in the museum display and can be activated to receive that stone's buff, or to quickly change buffs if needed. Each is a fully functional standing stone, and made very easy to access. This makes it easy to quickly grab or change a buff before leaving the museum. Each of the 13 standing stones on display activates separately after receiving their buff from the original. You need to wait at least 20 seconds between activating each standing stone for the first time, as the script that checks for the standing stone buff only runs every 20 seconds.
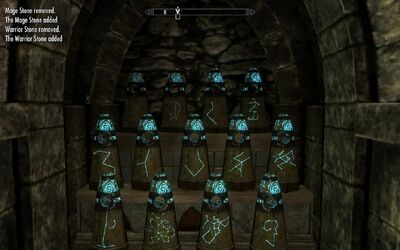
Shrines of the Divines

When each shrine is used for the first time, it will be unlocked in the museum display. The museum shrines are fully functional and grant the blessing accordingly. You need to wait at least 20 seconds between activating each shrine for the first time, as the script that checks for the shrine blessing only runs every 20 seconds.
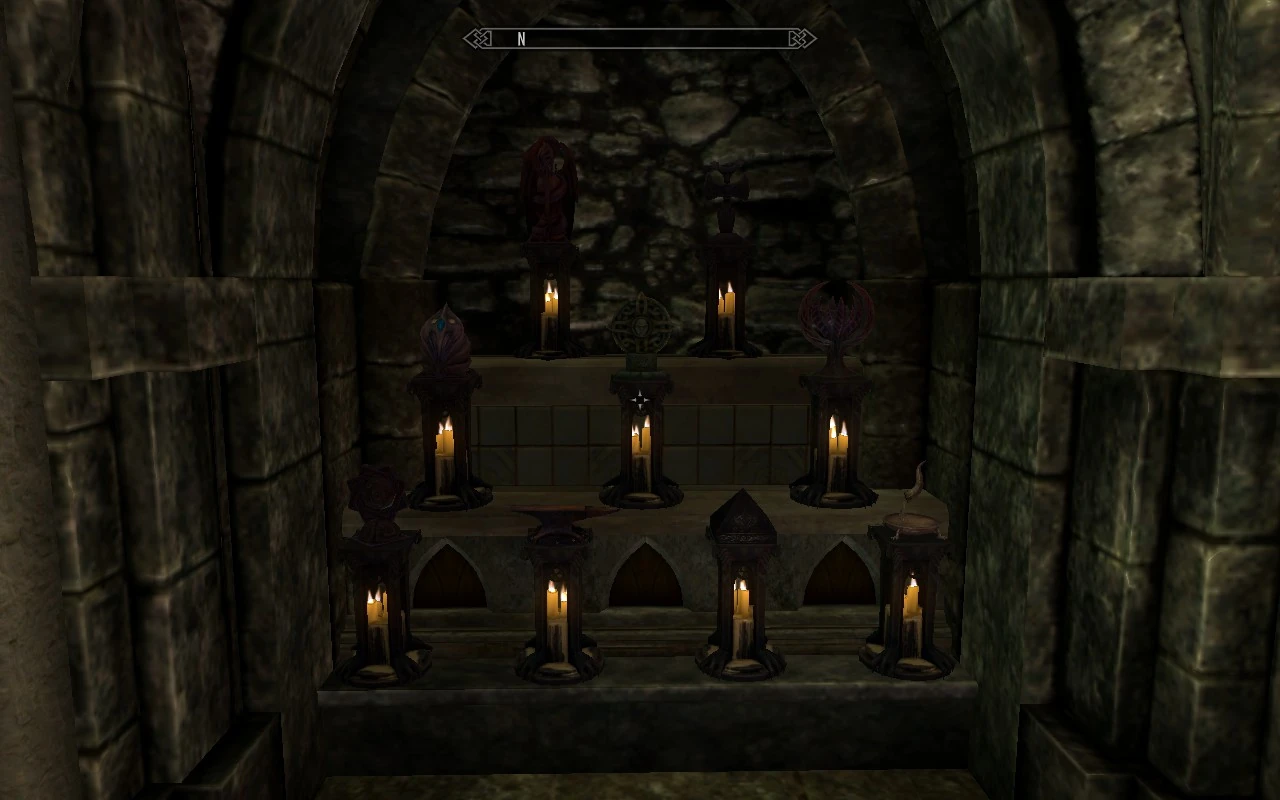
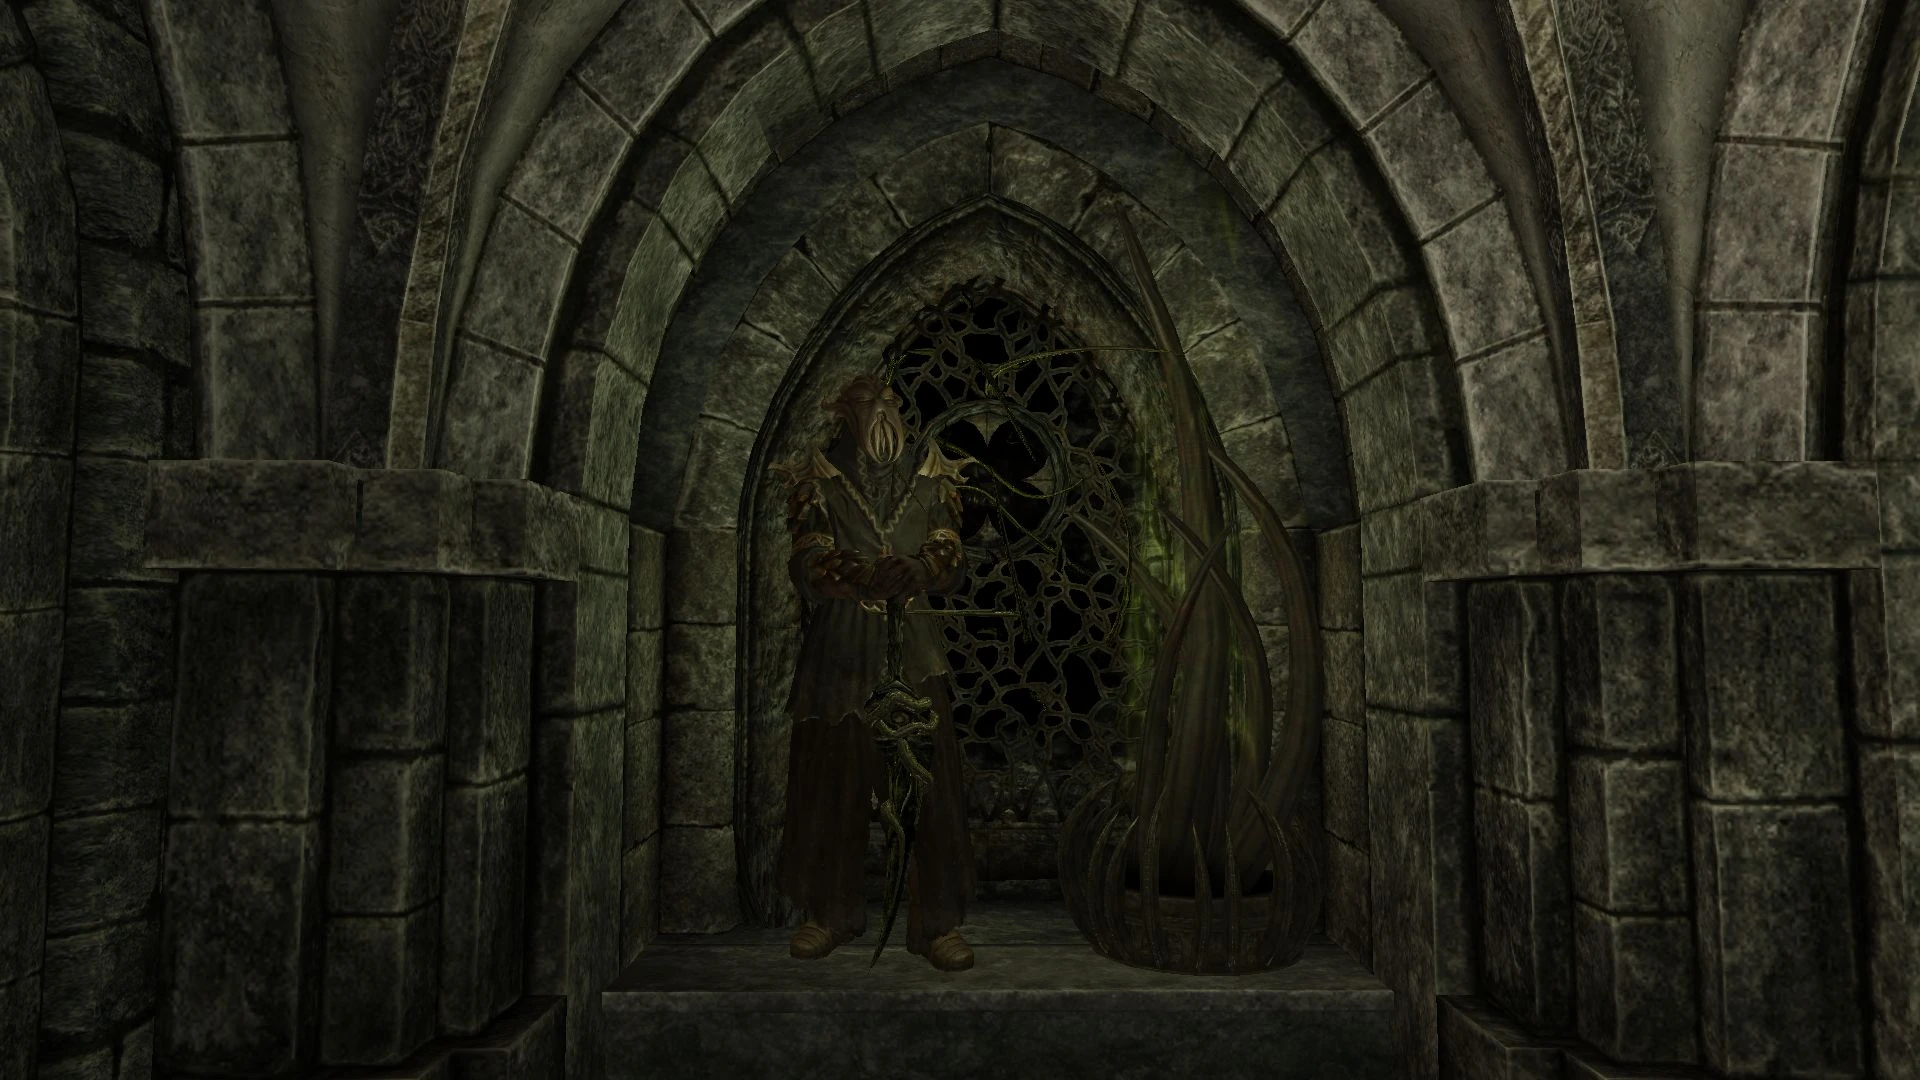
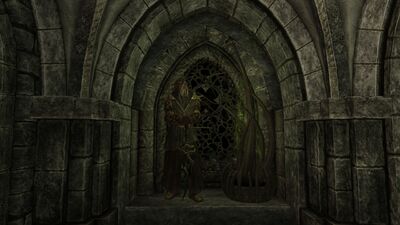
Static Skills Displays
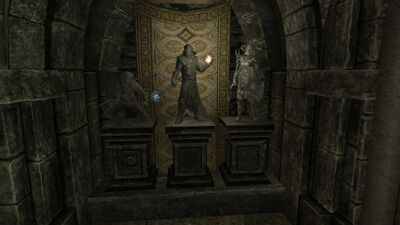
The three statues each activate after having three appropriate skills (anything but Alchemy, Enchanting and Smithing) reach 100. Making a skill Legendary or using a Skill unlocker to go past 100 doesn't matter. Once the skills reached 100 they count towards the display unlock.
- Thief Skills Display: Any 3 Thief skills at 100.
- Mage Skills Display: Any 3 Mage skills at 100.
- Fighter Skills Display: Any 3 Warrior skills at 100.
Daggers and Shields Display | ||
|---|---|---|
| Witsplinter (requires Oblivion Artifact Pack) | Drakensang (requires Relic Hunter) | |
| Sufferthorn (requires Oblivion Artifact Pack) | Lyrisius' Dagger (requires Artifacts - The Tournament of the Ten Bloods) | |
| Dagger of Discipline (requires Oblivion Artifact Pack) | ||
| Dagger of Symmachus | Necromancer's Dagger | Blade of Sacrifice |
| Blade of Woe | Black Hands Dagger (requires Moon and Star) | Borvir's Dagger |
| Nettlebane | Soul Drinker (requires More Interesting Loot) | Bloodthorn |
| Valdr's Lucky Dagger | Winterwound (requires More Interesting Loot) | Kahvozein's Fang |
| Rundi's Dagger | Dagger of Discipline (requires More Interesting Loot) | Fang of Haynekhtnamet |
| Eleidon's Ward | Targe of the Blooded | |
Swords Display | ||
| Blade of Dusk and Dawn (Dawnfang/Duskfang) | Cyrus' Saber | |

1st Archway | |
|---|---|
| Eduj | Okin |
| Dwarven Black Bow of Fate | Staff of Magnus |
| Hrothmund's Axe | |
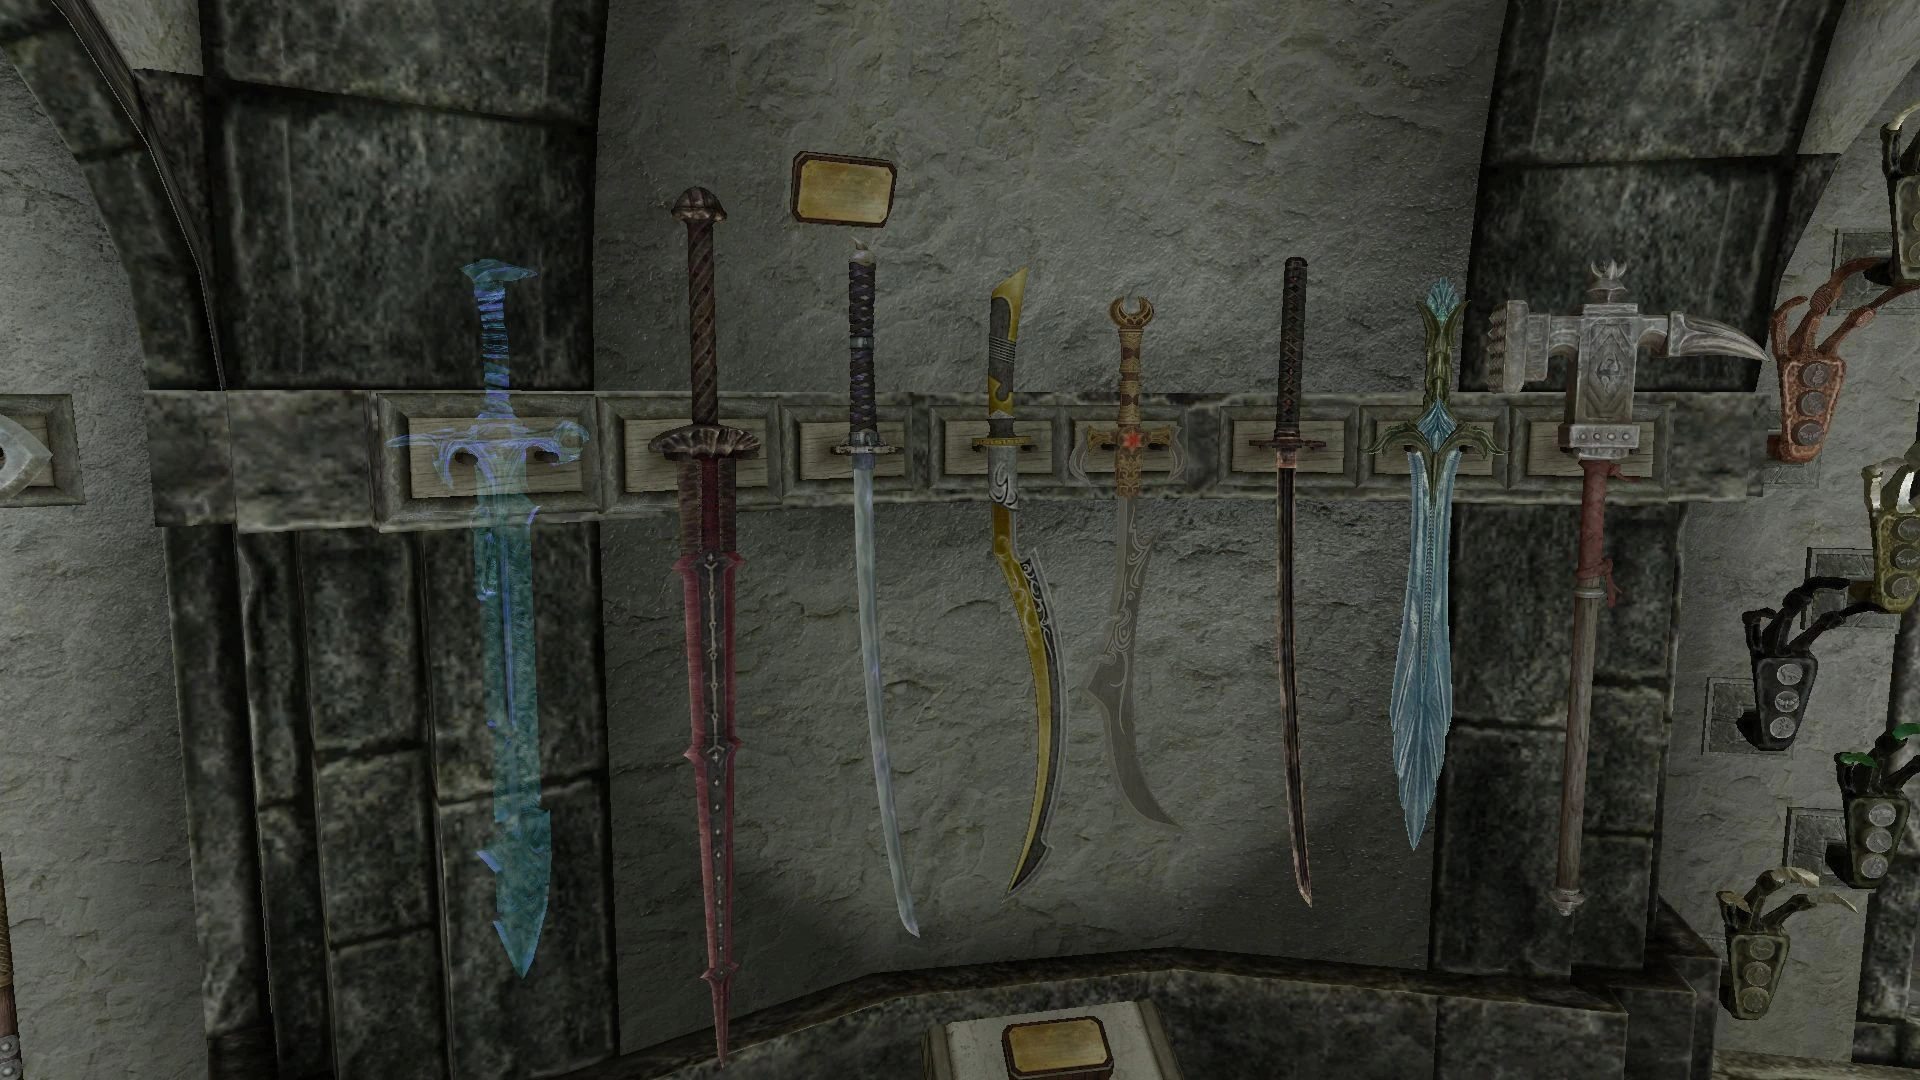
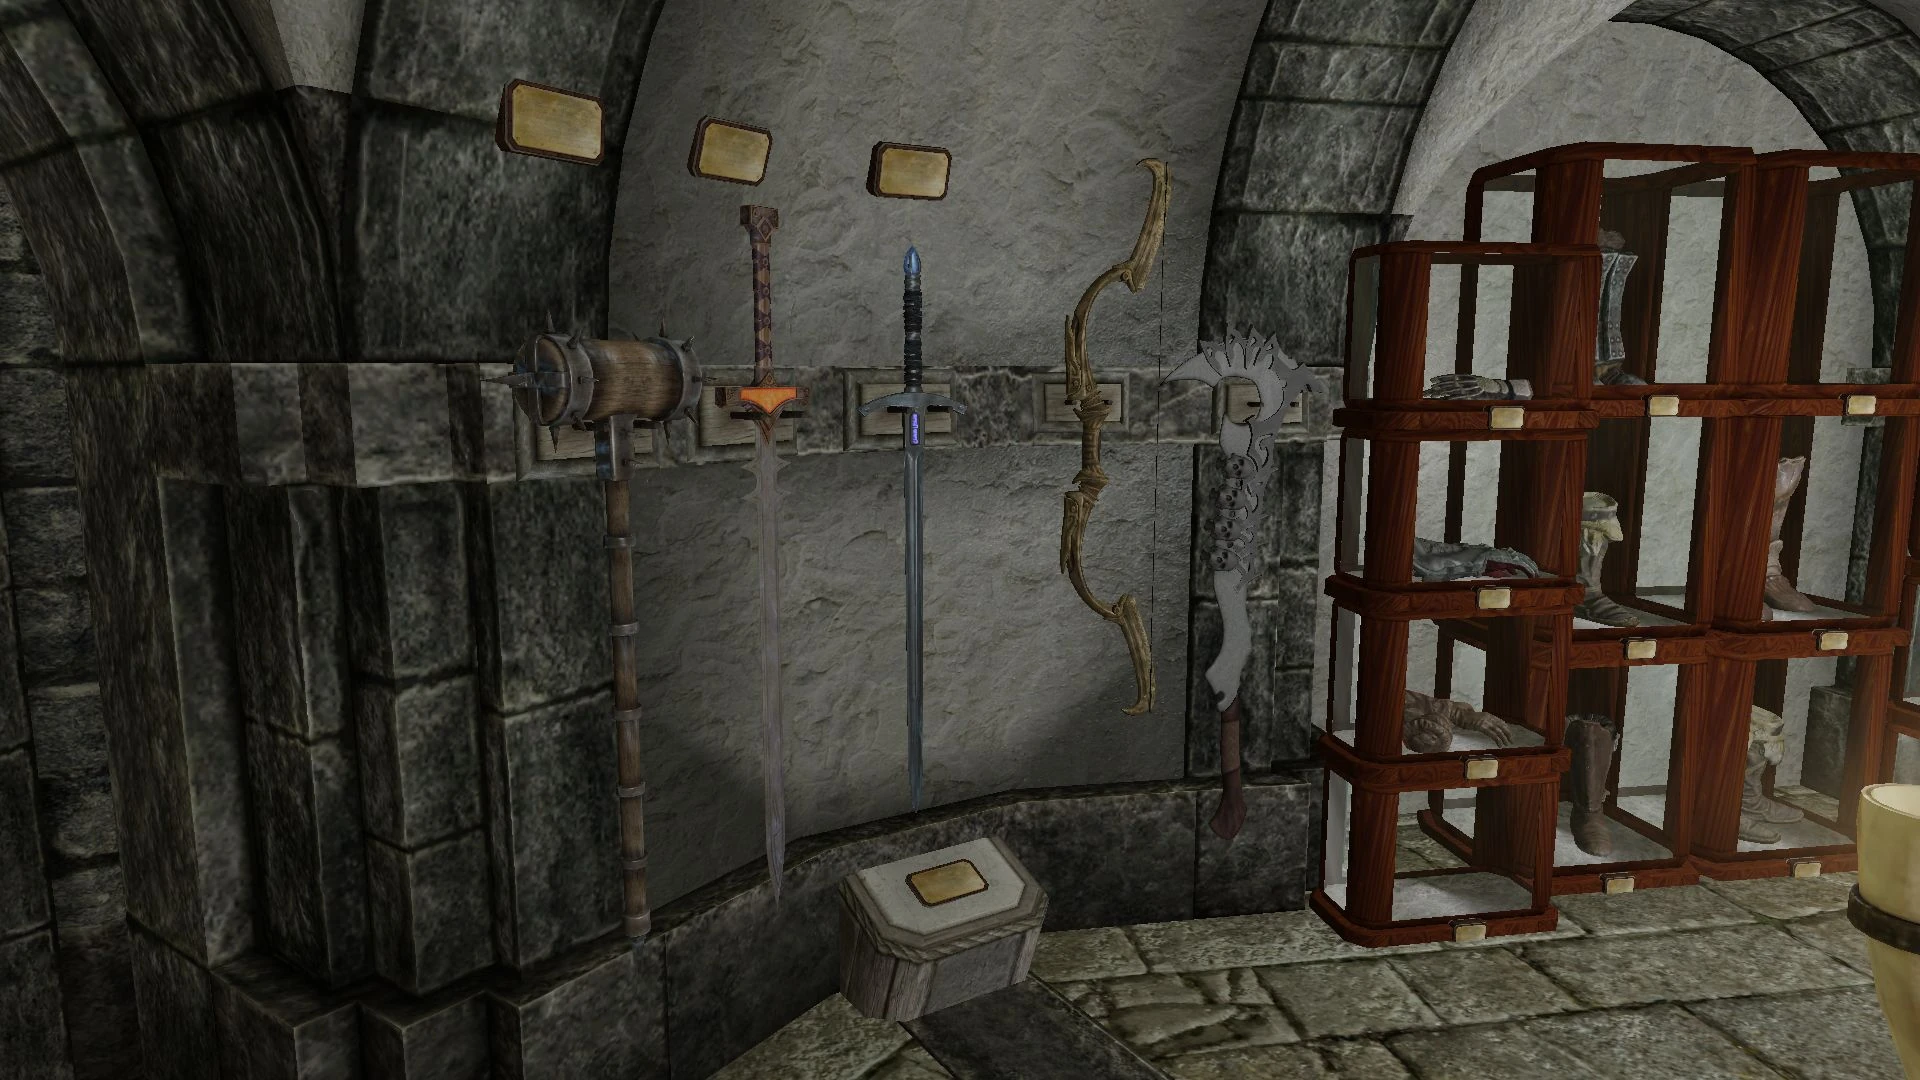
3rd Weapons Display | |
|---|---|
| Ghostblade | Bloodskal Blade |
| Dragonbane | Hopesfire |
| Trueflame | Harkon's Sword |
| Chillrend | Champion's Cudgel |
Dragon Claws and Masks Display | |
|---|---|
| Claws | |
| Bronze Claw (requires Konahrik's Accoutrements) | Black Glass Claw (requires Helgen Reborn) |
| Coral Dragon Claw | Diamond Dragon Claw |
| Ebony Dragon Claw | Emerald Dragon Claw |
| Glass Dragon Claw | Amethyst Claw, Left Half |
| Amethyst Claw, Right Half | Rusted Claw (requires Wyrmstooth) |
| Jade Claw | Golden Claw (replica) |
| Iron Dragon Claw | Ivory Dragon Claw |
| Ruby Dragon Claw | Sapphire Dragon Claw |
| Masks | |
| Wooden Mask | Haldriin |
| Korthor | Vosis |
| Vahlok | Miraak |
| Konahrik | Hevnoraak |
| Krosis | Morokei |
| Nahkriin | Otar |
| Rahgot | Vokun |
| Volsung | Ahzidal |
| Dukaan | Zahkriisos |
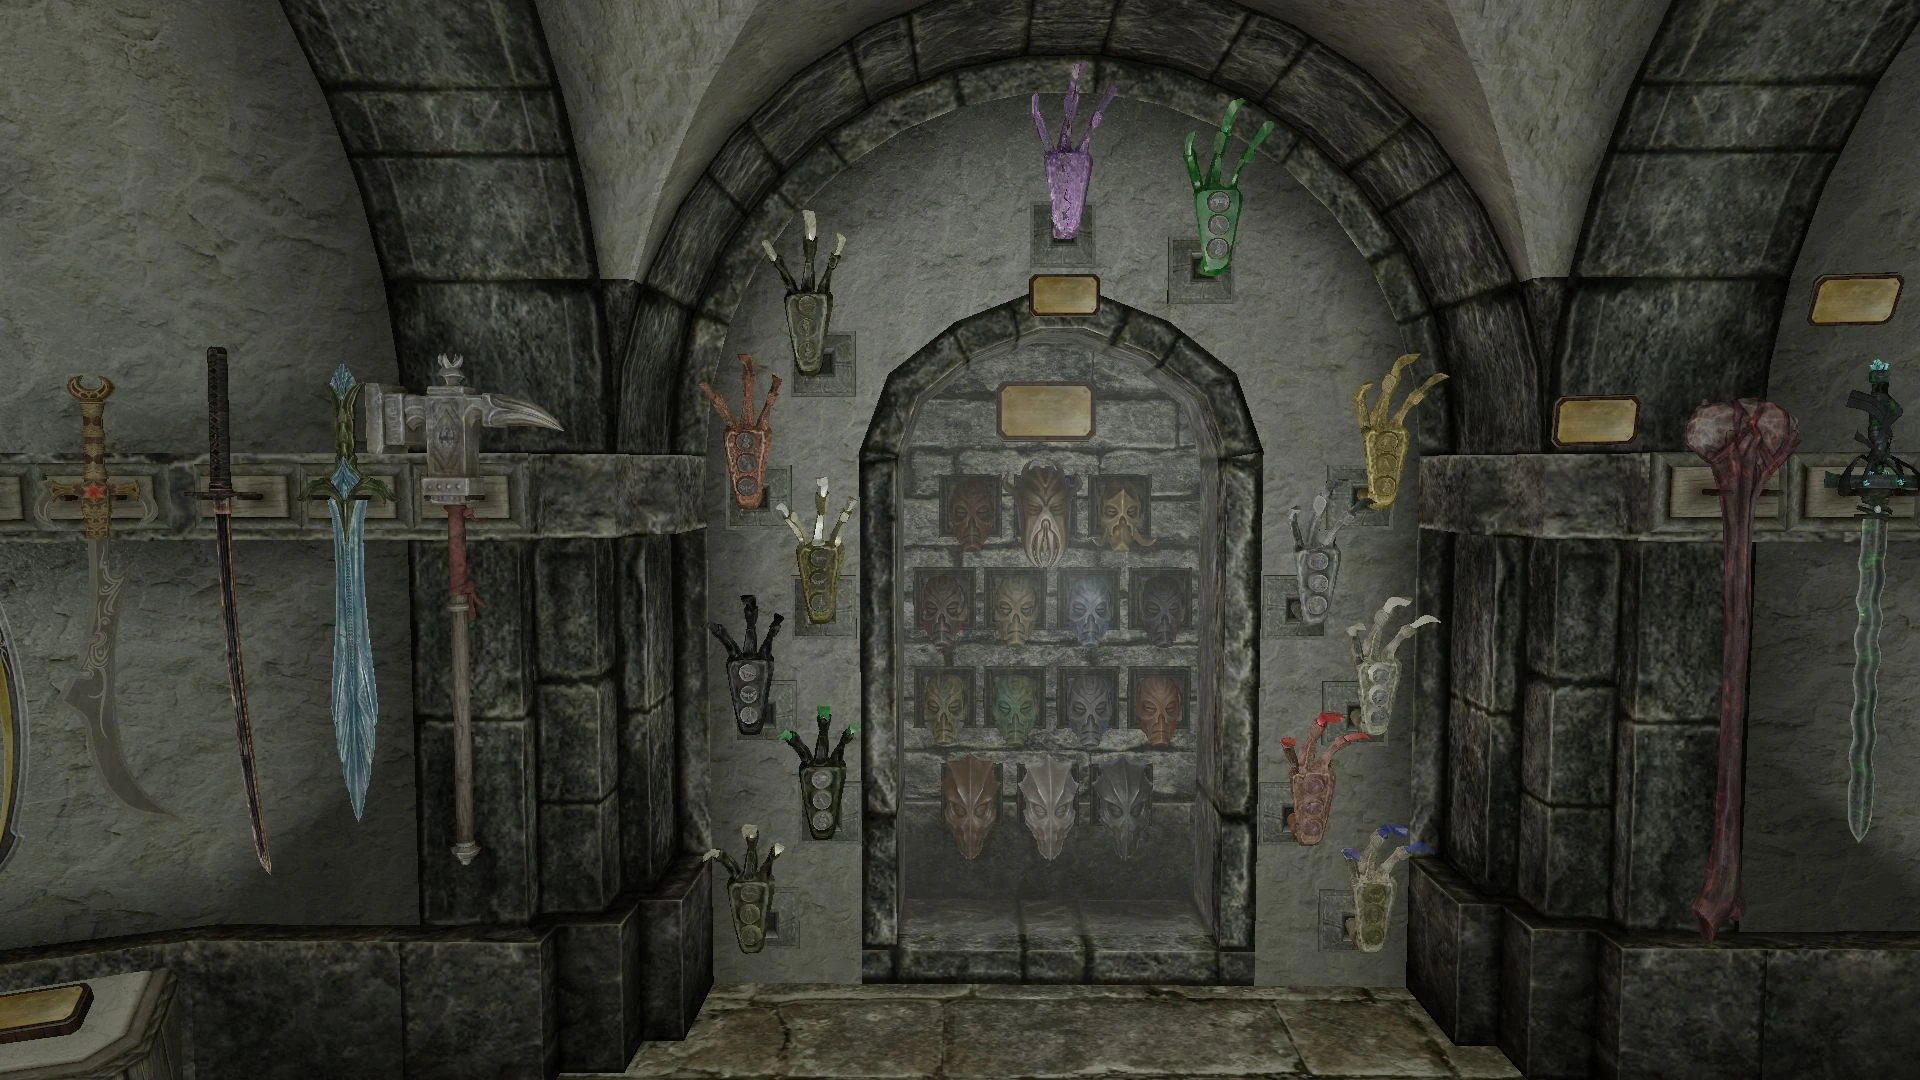

4th Weapons Display | |
|---|---|
| Trollsbane | The Pale Blade |
| Bolar's Oathblade | Froki's Bow |
| The Longhammer | Red Eagle's Bane |
| Windshear | |

Civil War Display
On the right side atop the stairs is a static quest display for the civil war, either showing the Imperial or Stormcloak version depending on who you sided with. The display activates after the conclusion of the civil war, either after the quest the 'Battle for Windhelm' or the' Battle for Solitude'. Certain mods can prevent the display from activating correctly. In such case, see the museum Museum Storeroom for manual activation.
Civil War Armor Display |
|---|
| Stormlord Cuirass |
| or |
| General Tullius' Armor |


3rd Doorway
The stairs lead down to the Daedric Exhibit Hall (left) and the Planetarium (right, after Path to the Heavens)
At the top of the stairs is a display dedicated to crafting skills.
Crafting Skill Display
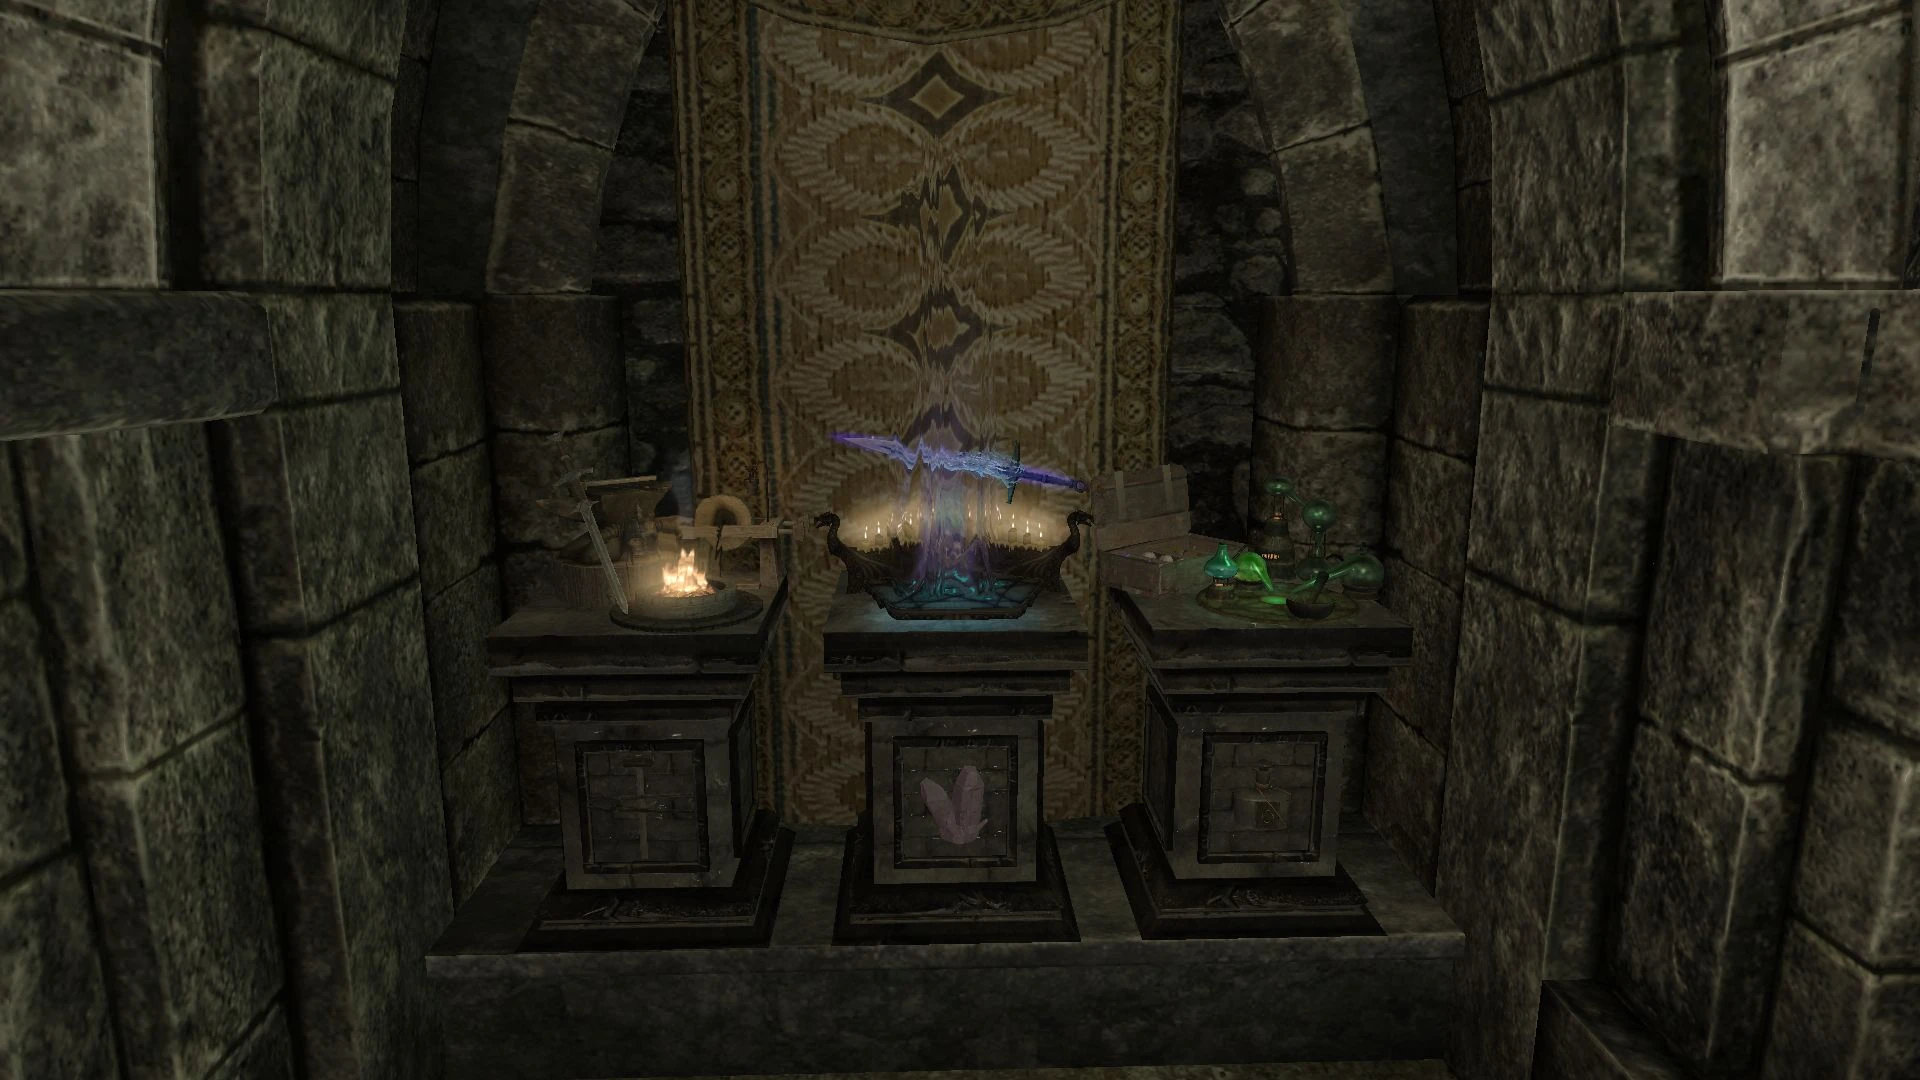
Crafting Skills Display
Each is automatically enabled once the player reaches 100 in the respective skill, and remain enabled even if that skill is turned legendary and lower than 100.
- Blacksmithing Master Display: Reach 100 in Smithing.
- Enchanting Master Display: Reach 100 in Enchanting.
- Alchemy Master Display: Reach 100 in Alchemy.
Chorrol Display |
|---|
|
Between the doors to the Daedric Exhibit Hall and the Planetarium is a |
| Honorblade of Chorrol |
| Knight of Chorrol Helmet (requires Oblivion Artifact Pack) |
| Knight of Chorrol Armor (requires Oblivion Artifact Pack) |
| Knight of Chorrol Gauntlets (requires Oblivion Artifact Pack) |
| Knight of Chorrol Boots (requires Oblivion Artifact Pack) |
| Knight of Chorrol Shield (requires Oblivion Artifact Pack) |
| Escutcheon of Chorrol (requires Oblivion Artifact Pack) |


5th Weapons Display | |
|---|---|
| Debaser | Mace of Aevar Stone-Singer |
| Bipolar Blade | Firiniel's End |
| Steel Battleaxe of Fiery Souls | Sixth House Bell Hammer |
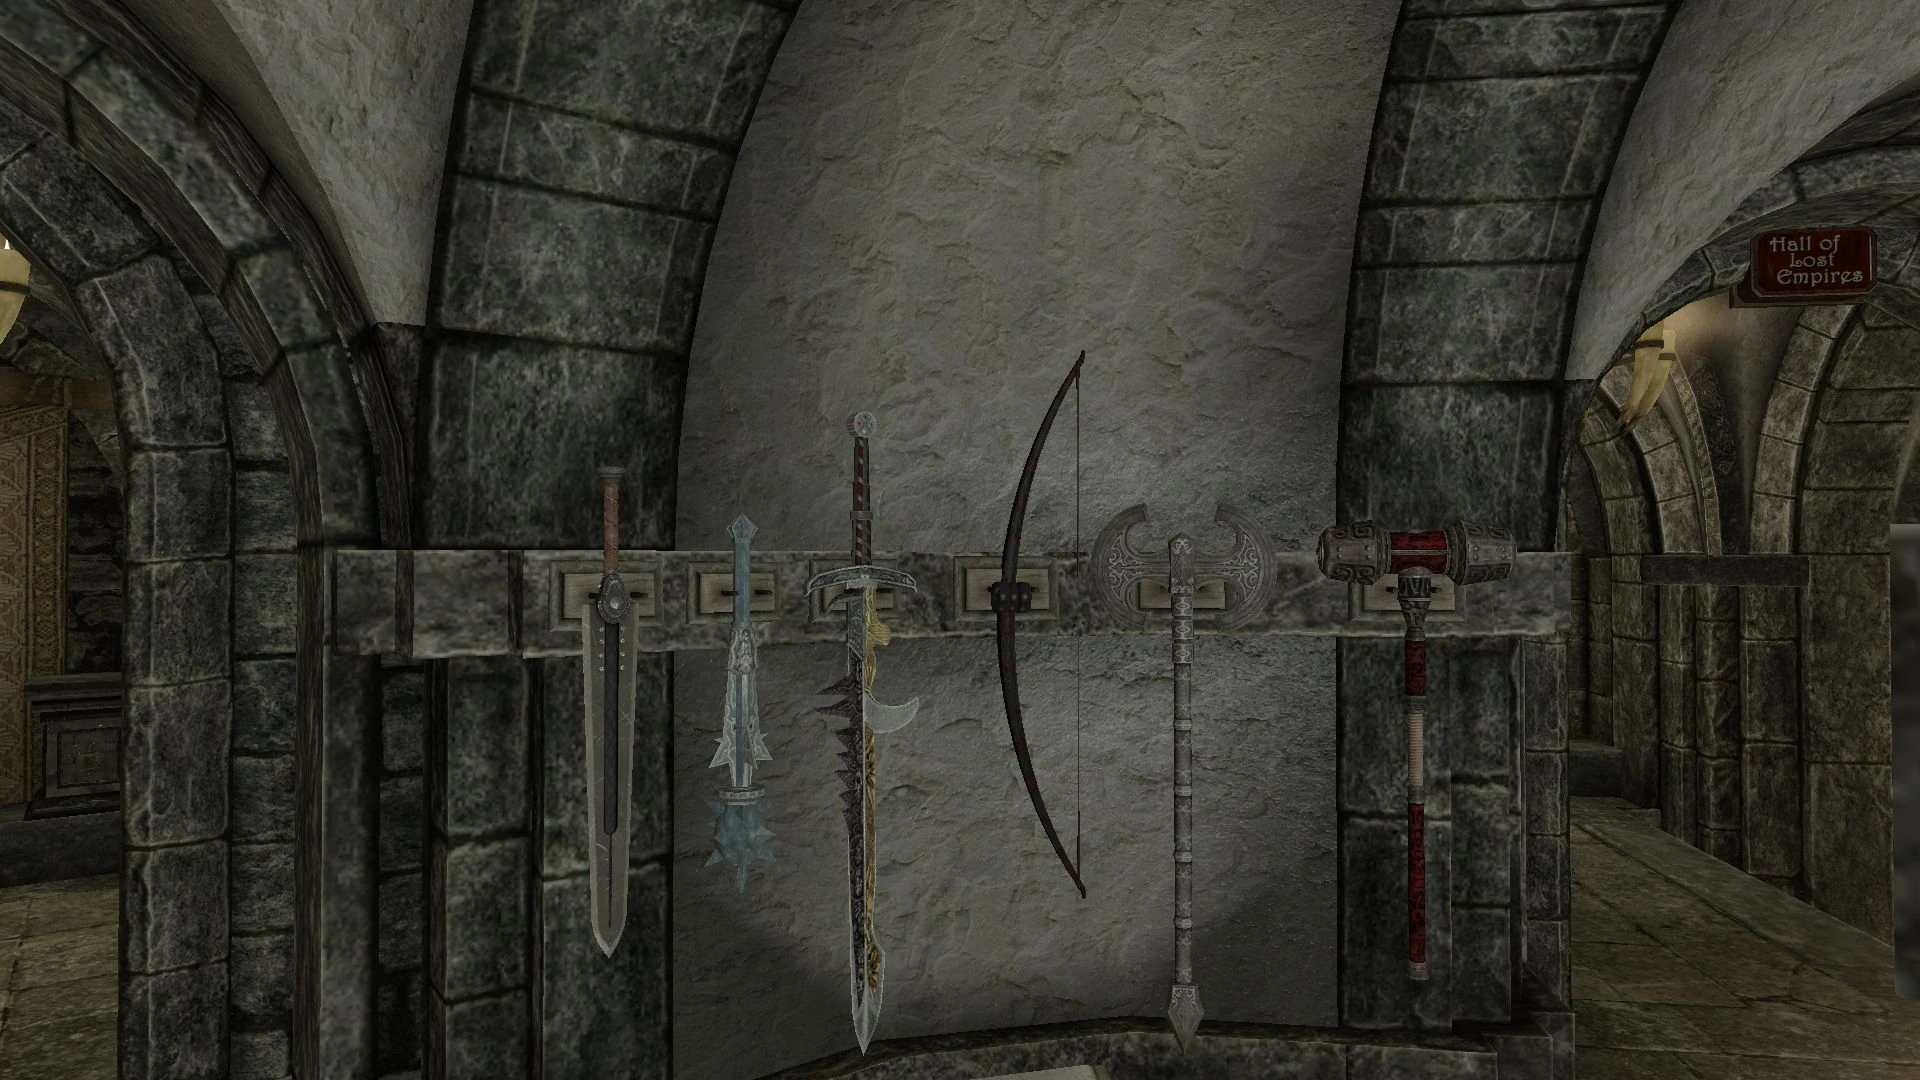
4th Doorway
Stairway leading down to the Hall of Lost Empires.
Dragonborn Static Display
The display activates after completing 'At the Summit of Apocrypha'. The last main quest of the Dragonborn DLC.
Dawnguard Static Display
This display comes in two versions. One representing siding with the Dawnguard while the other shows the player siding with the Volkihar Vampires. In either case, the Dawnguard DLC main quest 'Kindred Judgement' has to be completed for the display to show.
")
")
6th Weapons Display | |
|---|---|
| Aegisbane | Chrysamere |
| Ice Blade of the Monarch | Zephyr |
| Reaper's Bane | |

Display Cases | |
|---|---|
| Mystic Tuning Gloves | Fists of Randagulf |
| Gloves of the Pugilist | The Forgemaster's Fingers (replica) |
| Running Man's Folly | Predator's Grace |
| Boots of the Apostle | Coming soon (planned in future update) |
| Boots of Blinding Speed | Movarth's Boots |
| Ironhand Gauntlets | Hands of the Atronach |
| Tumblerbane Gloves | Gilded Wristguards |
7th Weapons Display | |
|---|---|
| Shadowsting | Honed Ancient Nord Greatsword of Scorching |
| Justice | Ysgramor Battle Axe |
| Herebane's Courage | Herebane's Fortress |
Inner Ring
Staff Displays | |
|---|---|
| Dragon Priest Staff (Wall of Lightning) | Dragon Priest Staff (Wall of Fire) |
| Underking's Will | Sild's Staff |
| Staff of Ruunvald | Eye of Melka |
| Halldir's Staff | Hevnoraak's Staff |
| Gadnor's Staff of Charming | Staff of Hasedoki |
| Staff of Hag's Wrath | Hrormir's Icestaff |
| Staff of Indarys | |
| Staff of Worms (up to ICOW v.4) / Abominable Staff (ICOW v.5 and up) (requires Immersive College of Winterhold) or | |
| Staff of Worms (requires Path of the Revenant) | |
Elder Scrolls Display |
|---|
| Elder Scroll (Blood) |
| Elder Scroll (Dragon) |
| Elder Scroll (Sun) |
| ||||||||||||||||||||||||||||||||||||||||||